How To Make Voting Machine Using Arduino Circuit Diagram When we press a button the device stores that value in the memory. the device stores all values of the button till the result button pressed. in this machine, there are 6 buttons 4 buttons for voting 1 button for the result, and 1 button for refresh the machine. nowadays Electronic Voting Machine using in many countries this is the embedded product which counts the vote using the Arduino

Introduction Have you ever wondered how an electronic voting machine works? With this DIY project, you can create your own voting machine using an Arduino Nano and a few basic electronic components. This project is perfect for beginners eager to learn about interactive electronics and real-world applications of Arduino
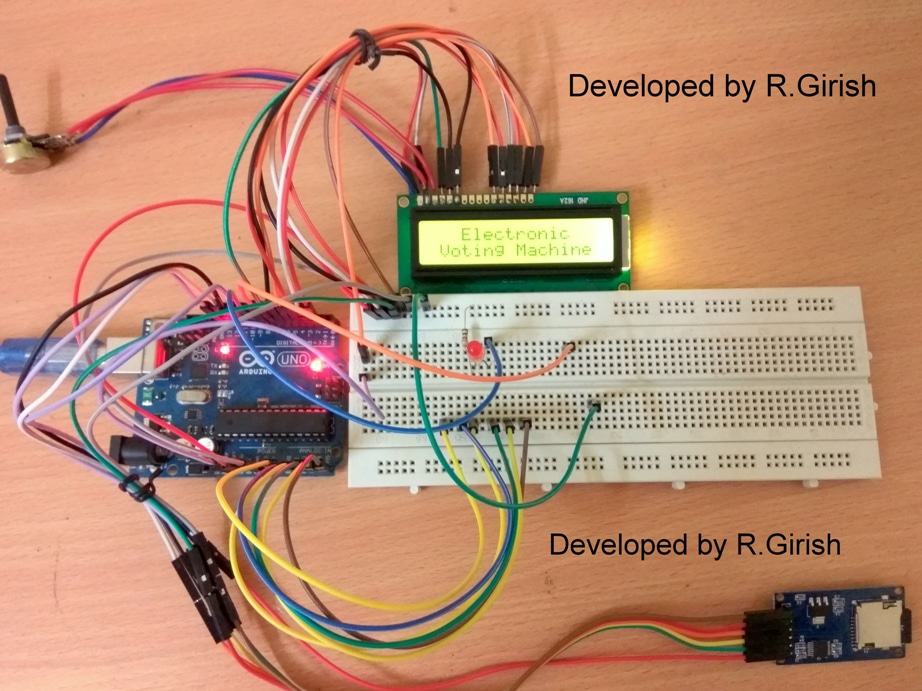
Electronic Voting Machine Using Arduino & LCD Display Circuit Diagram
Hi. This video is all about making an electronic voting machine at home with some diy items excluding any programming or items wanted to do more research to Now you are ready to go and operate your voting machine. Connect your Arduino to the PC using the USB. Now open the Serial monitor to conduct the poll. Enter the password to get access to the system. V - Allow Voter to caste their vote. D - Display the Vote tally. Take a look at the snap shot of serial monitor to get understanding of its

The design of the voting machine as follow: Arduino reads the keyboard input through the voting process, and the 16 × 2 LCD connect to the 4-bit port. At the same time the system also can connect Arduino to your PC, and use Arduino IDE serial monitor to control.

Electronic Voting Machine that will make elections free ... - YouTube Circuit Diagram
Welcome to PowerPedia! In this exciting video, we will show you how to create your very own electronic voting machine (EVM) through a do-it-yourself (DIY) pr
